Windows PowerShell
Copyright (C) Microsoft Corporation. All rights reserved.
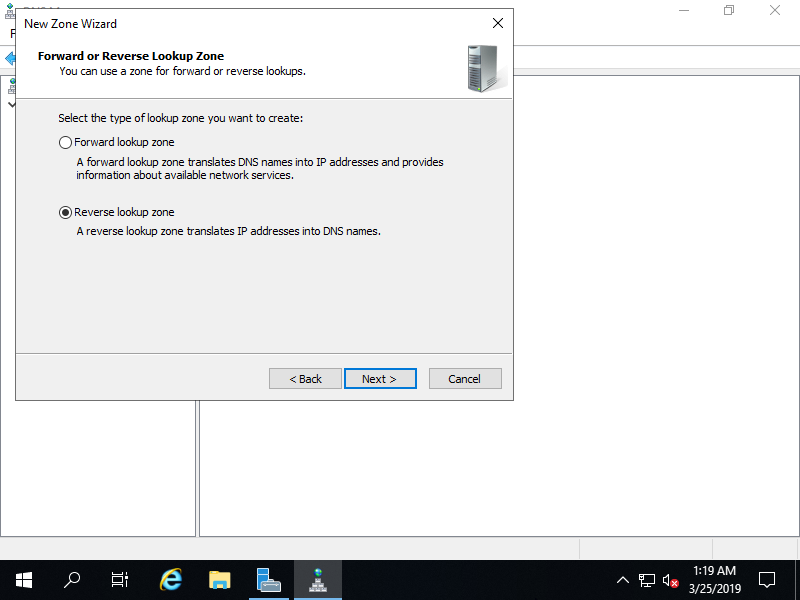
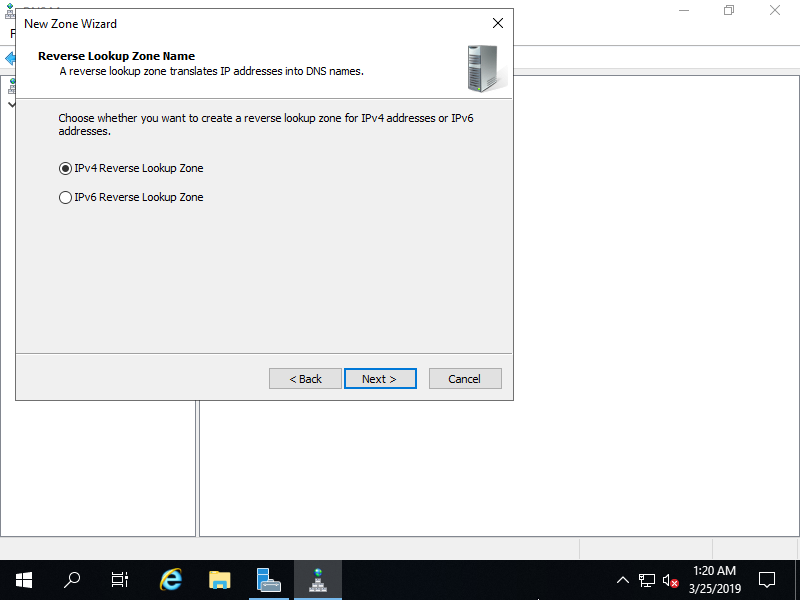
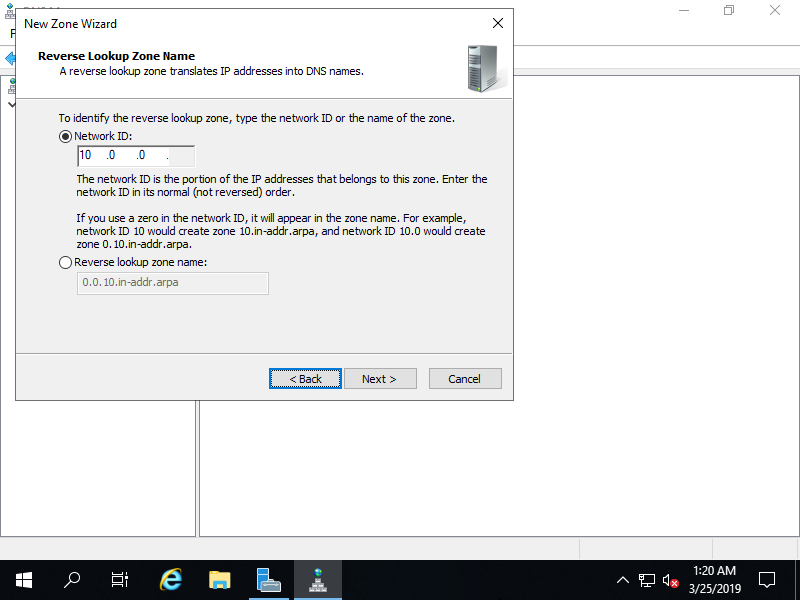
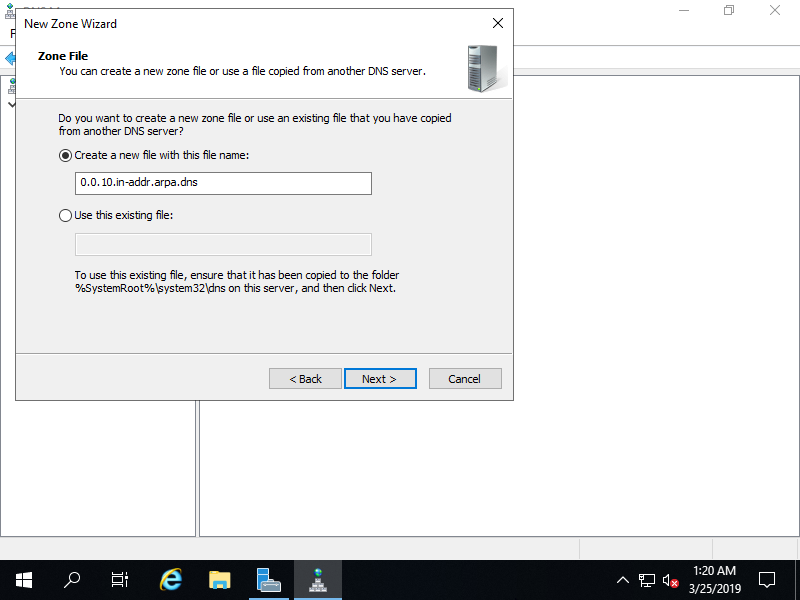
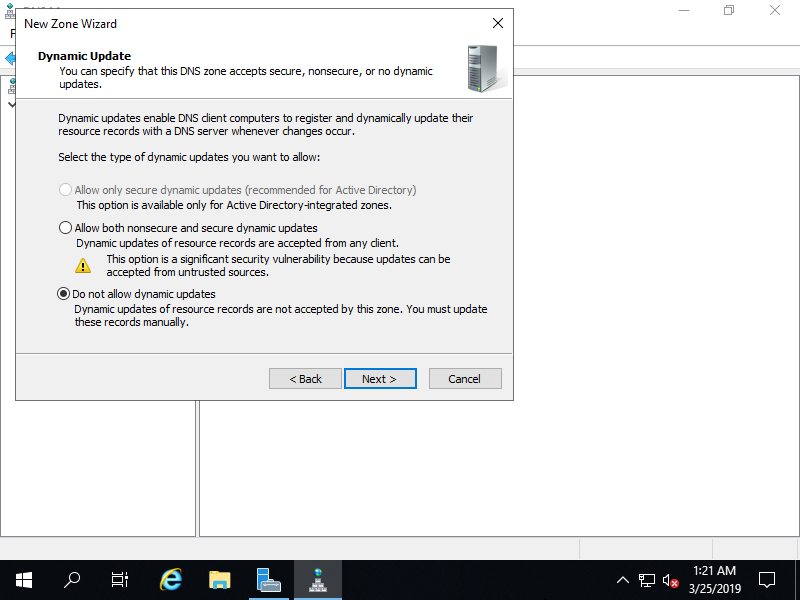
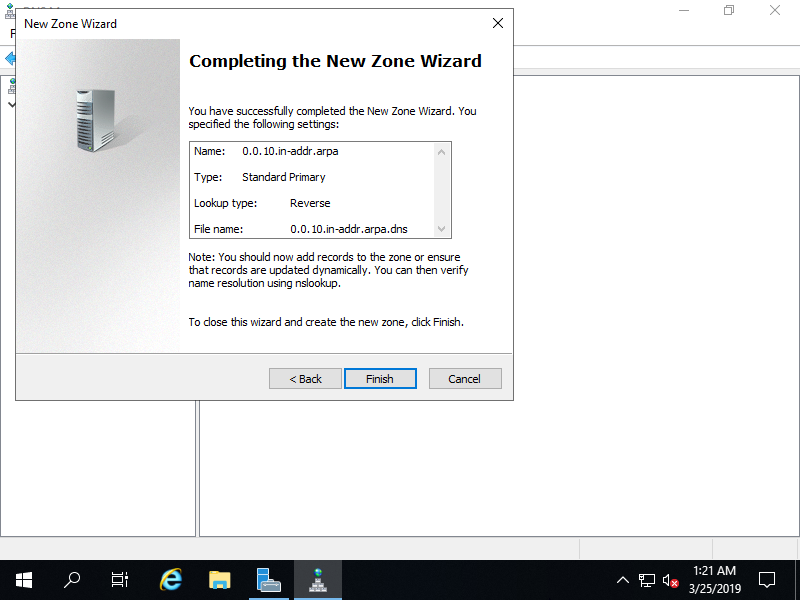
PS C:\Users\Administrator> Add-DnsServerPrimaryZone -NetworkID 10.0.0.0/24 -ZoneFile "0.0.10.in-addr.arpa.dns" -DynamicUpdate None -PassThru
ZoneName ZoneType IsAutoCreated IsDsIntegrated IsReverseLookupZone IsSigned
-------- -------- ------------- -------------- ------------------- --------
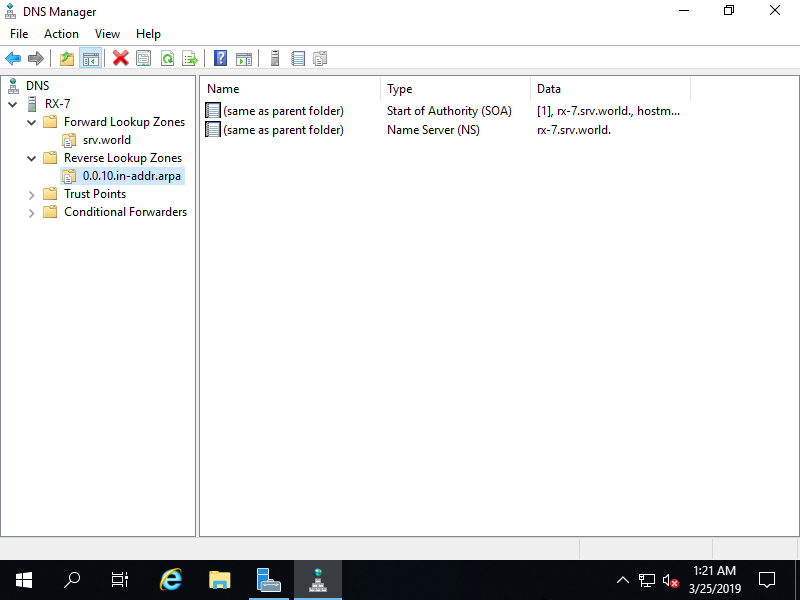
0.0.10.in-addr.arpa Primary False False True False
PS C:\Users\Administrator> Get-DnsServerZone
# [0.0.10.in-addr.arpa] has beed added
ZoneName ZoneType IsAutoCreated IsDsIntegrated IsReverseLookupZone IsSigned
-------- -------- ------------- -------------- ------------------- --------
0.0.10.in-addr.arpa Primary False False True False
0.in-addr.arpa Primary True False True False
127.in-addr.arpa Primary True False True False
255.in-addr.arpa Primary True False True False
srv.world Primary False False False False
TrustAnchors Primary False False False False
# if remove it, run like follows
PS C:\Users\Administrator> Remove-DnsServerZone "0.0.10.in-addr.arpa" -PassThru
Confirm
[Y] Yes [N] No [S] Suspend [?] Help (default is "Y"): Y
ZoneName ZoneType IsAutoCreated IsDsIntegrated IsReverseLookupZone IsSigned
-------- -------- ------------- -------------- ------------------- --------
0.0.10.in-addr.arpa Primary False False True False