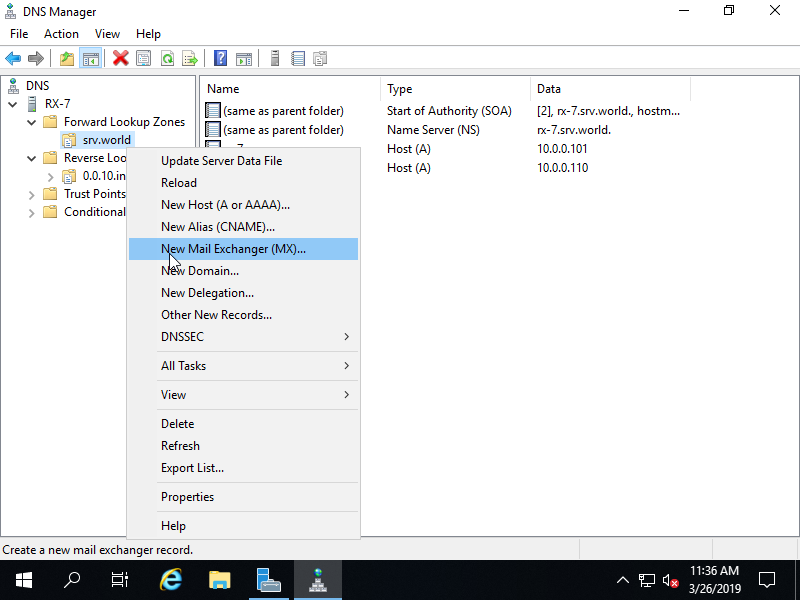
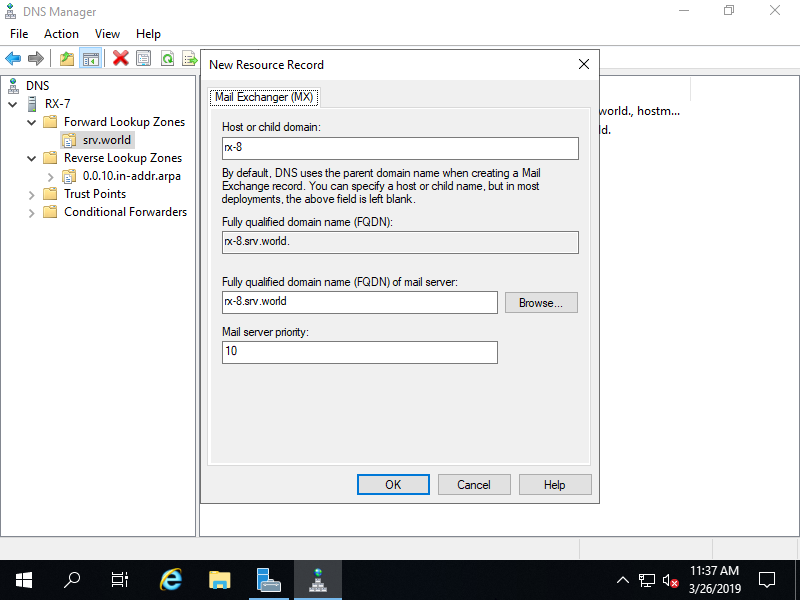
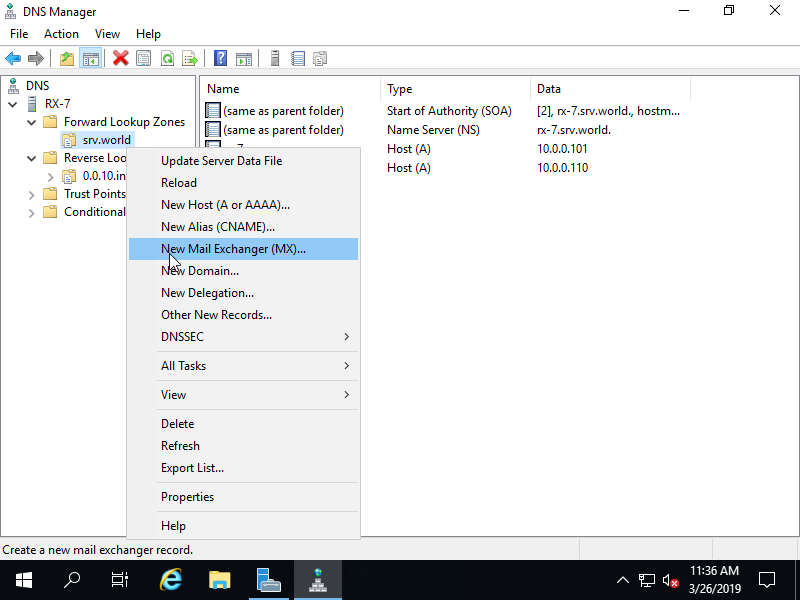
Windows PowerShell
Copyright (C) Microsoft Corporation. All rights reserved.

# for [-Preference], specify priority of mail Server (default is [10])
PS C:\Users\Administrator> Add-DnsServerResourceRecordMX -Name "rx-8" -MailExchange "rx-8.srv.world" -ZoneName "srv.world" -Preference 10 -TimeToLive 01:00:00 -PassThru

HostName                  RecordType Type       Timestamp            TimeToLive      RecordData
--------                  ---------- ----       ---------            ----------      ----------
rx-8                      MX         15         0                    01:00:00        [10][rx-8.srv.world.]

PS C:\Users\Administrator> Get-DnsServerResourceRecord -ZoneName "srv.world" | Format-Table -AutoSize -Wrap

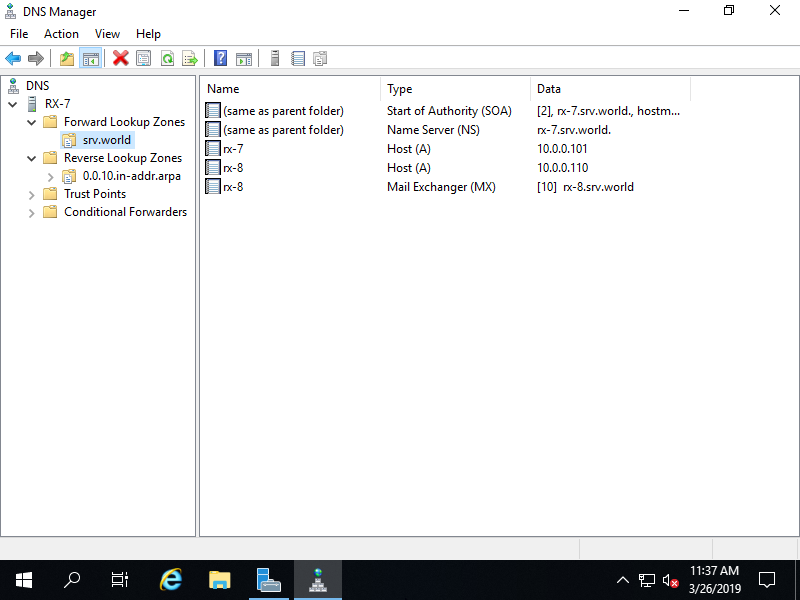
# MX record has beed added
HostName RecordType Type Timestamp TimeToLive RecordData
-------- ---------- ---- --------- ---------- ----------
@        NS         2    0         01:00:00   rx-7.srv.world.
@        SOA        6    0         01:00:00   [7][rx-7.srv.world.][hostmaster.srv.world.]
rx-7     A          1    0         01:00:00   10.0.0.101
rx-8     A          1    0         01:00:00   10.0.0.110
rx-8     MX         15   0         01:00:00   [10][rx-8.srv.world.]

# if remove it, run like follows
PS C:\Users\Administrator> Remove-DnsServerResourceRecord -ZoneName "srv.world" -RRType "MX" -Name "rx-8" -PassThru

Confirm
[Y] Yes  [N] No  [S] Suspend  [?] Help (default is "Y"): Y