Windows PowerShell
Copyright (C) Microsoft Corporation. All rights reserved.
# confirm network adapter names
PS C:\Users\Administrator> Get-NetAdapter
Name InterfaceDescription ifIndex Status MacAddress LinkSpeed
---- -------------------- ------- ------ ---------- ---------
Ethernet0 Intel(R) 82574L Gigabit Network Conn... 6 Up 00-0C-29-C7-54-1A 1 Gbps
# create a virtul switch
PS C:\Users\Administrator> New-VMSwitch -Name "Bridge01" -AllowManagementOS $True -NetAdapterName "Ethernet0"
# confirm
PS C:\Users\Administrator> Get-VMSwitch
Name SwitchType NetAdapterInterfaceDescription
---- ---------- ------------------------------
Bridge01 External Intel(R) 82574L Gigabit Network Connection
# create a directory for virtual machines
PS C:\Users\Administrator> mkdir E:\Virtual_Machine
# set VM name and others
PS C:\Users\Administrator> $ParentDir = 'E:\Virtual_Machine'
PS C:\Users\Administrator> $VMName = 'Win2k19'
PS C:\Users\Administrator> $Switch = 'Bridge01'
# create a virtual machine
PS C:\Users\Administrator> New-VM -Name $VMName `
-MemoryStartupBytes 8GB `
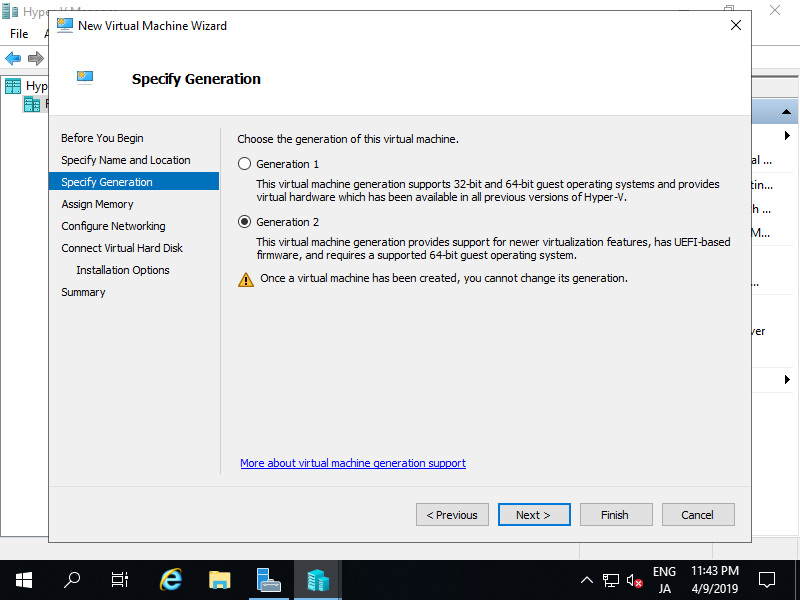
-Generation 2 `
-NewVHDPath "$ParentDir\$VMName\$VMName.vhdx" `
-NewVHDSizeBytes 50GB `
-Path "$ParentDir\$VMName" `
-SwitchName $Switch
Name State CPUUsage(%) MemoryAssigned(M) Uptime Status Version
---- ----- ----------- ----------------- ------ ------ -------
Win2k19 Off 0 0 00:00:00 Operating normally 9.0
# change vCPU count
PS C:\Users\Administrator> Set-VMProcessor $VMName -Count 4
# add SCSI controler
PS C:\Users\Administrator> Add-VMScsiController -VMName $VMName
# set install image
PS C:\Users\Administrator> Add-VMDvdDrive -VMName $VMName `
-ControllerNumber 1 `
-ControllerLocation 0 `
-Path 'C:\Users\Administrator\Documents\Win2019_EN-US_190906-2324.rs5.iso'
PS C:\Users\Administrator> $DVDDrive = Get-VMDvdDrive -VMName $VMName
# set virtual DVD first boot device
PS C:\Users\Administrator> Set-VMFirmware -VMName $VMName -FirstBootDevice $DVDDrive
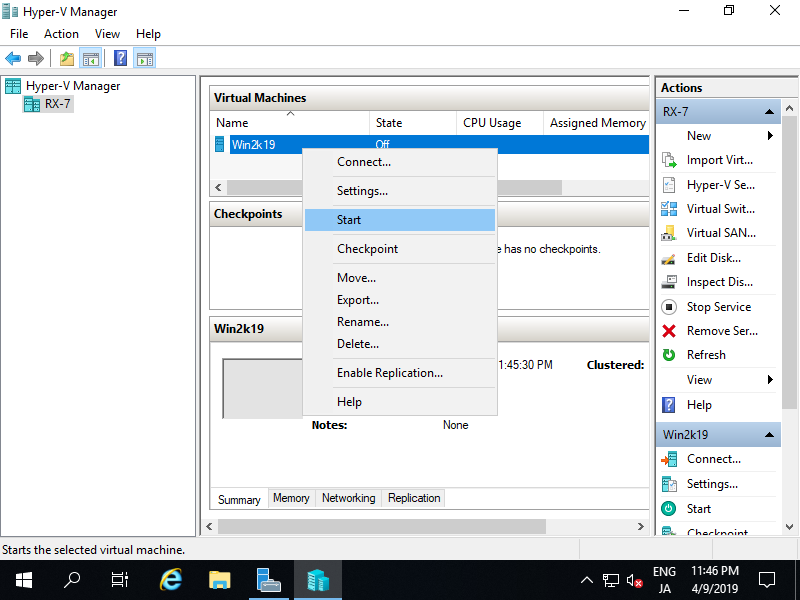
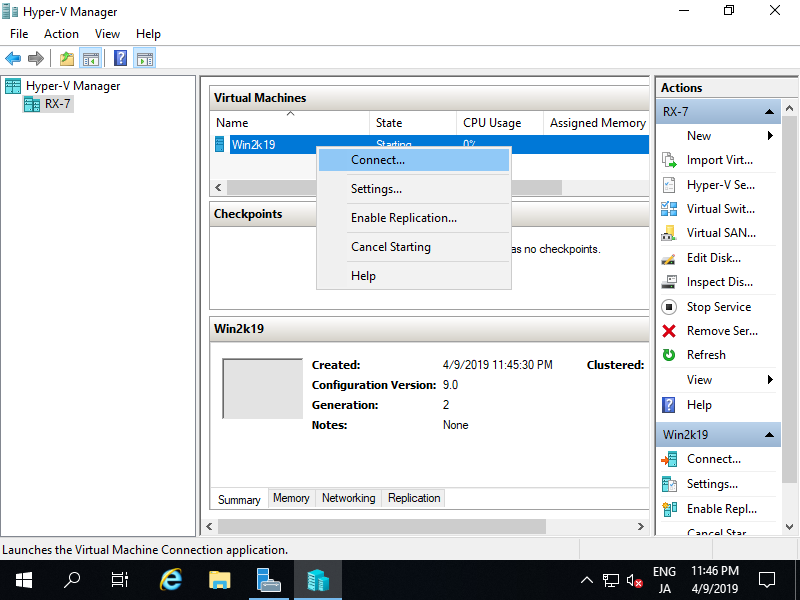
# start the virtual machine
PS C:\Users\Administrator> Start-VM -Name $VMName
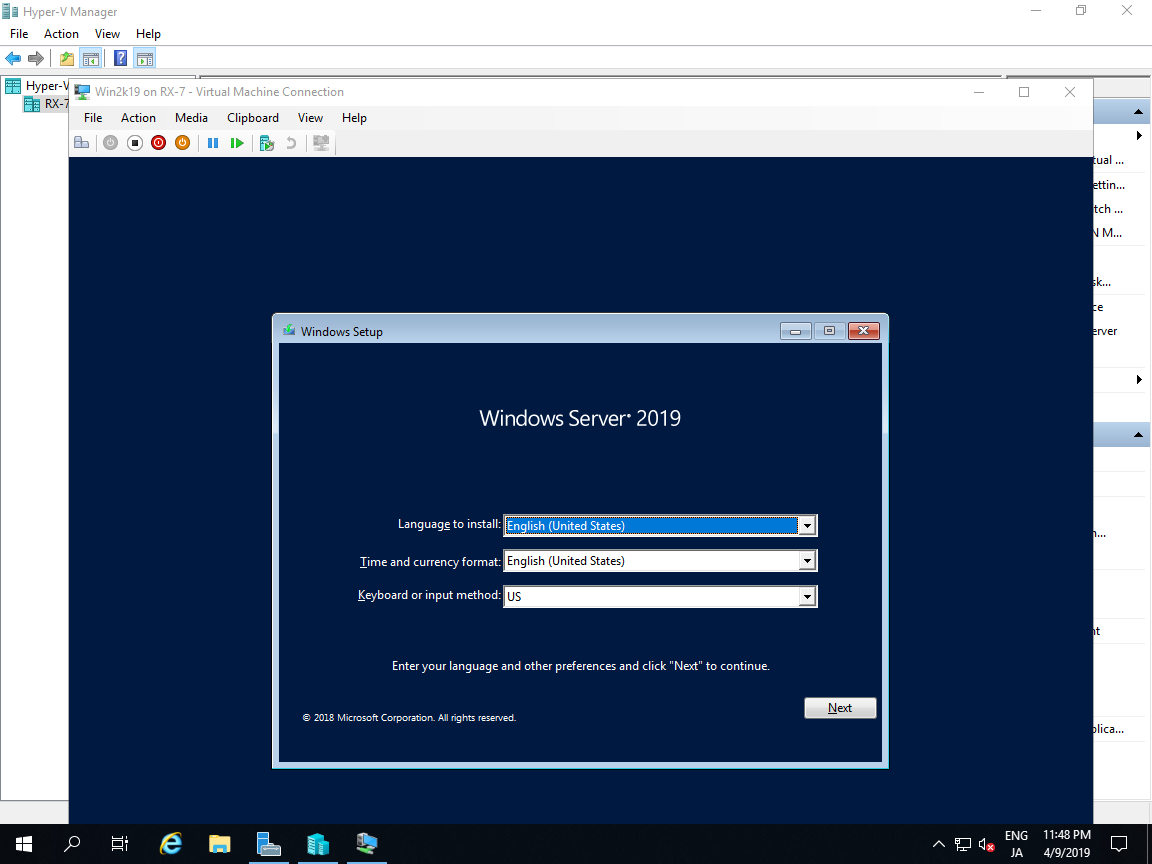
# after this, refer to [13] to install OS