Windows PowerShell
Copyright (C) Microsoft Corporation. All rights reserved.
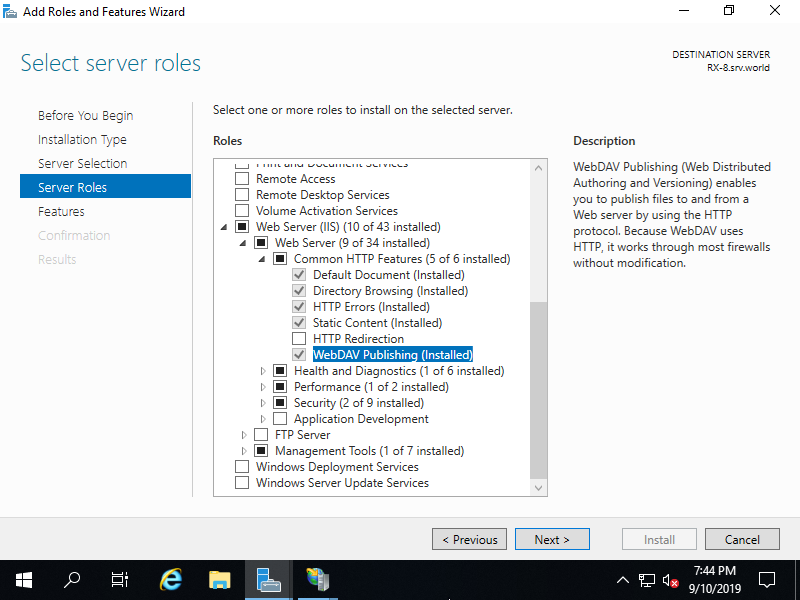
# kinstall WebDAV feature
PS C:\Users\Administrator> Install-WindowsFeature Web-DAV-Publishing
Success Restart Needed Exit Code Feature Result
------- -------------- --------- --------------
True No Success {WebDAV Publishing}
# restart IIS
PS C:\Users\Administrator> Restart-Service W3SVC
# create a group [DavGroup]
PS C:\Users\Administrator> New-LocalGroup -Name "DavGroup"
Name Description
---- -----------
DavGroup
# add a user to [DavGroup] group
# (the user you allow to access to WebDAV directory)
PS C:\Users\Administrator> Add-LocalGroupMember -Group "DavGroup" -Member "Serverworld"
PS C:\Users\Administrator> Get-Website
Name ID State Physical Path Bindings
---- -- ----- ------------- --------
Default Web Site 1 Started %SystemDrive%\inetpub\wwwroot http *:80:
RX-7.srv.world 2 Started C:\inetpub\newsite http *:80:RX-7.srv.world
https *:443:rx-7.srv.world sslFlags=0
# create [webdav] folder
PS C:\Users\Administrator> mkdir C:\inetpub\webdav
# set [webdav] folder as a virtual directory on IIS
PS C:\Users\Administrator> New-WebVirtualDirectory -Site "RX-7.srv.world" -Name "webdav" -PhysicalPath "C:\inetpub\webdav"
Name PhysicalPath
---- ------------
webdav C:\inetpub\webdav
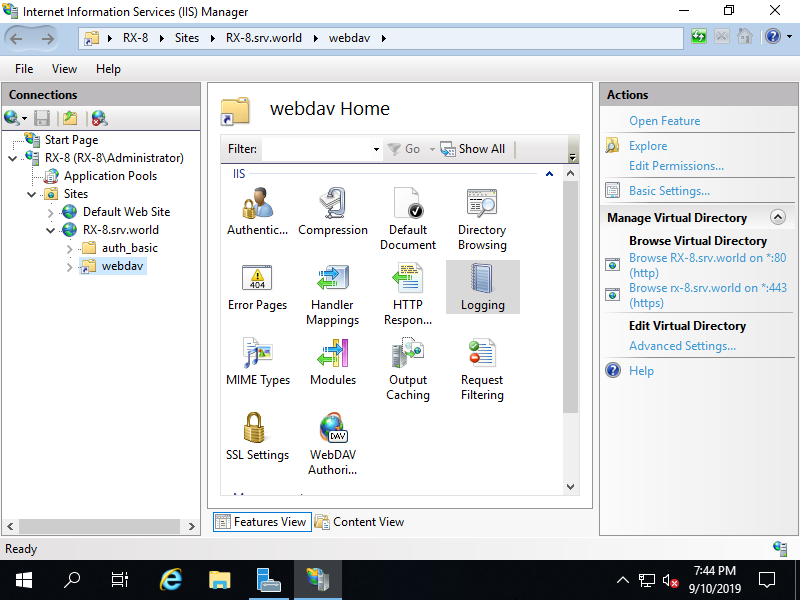
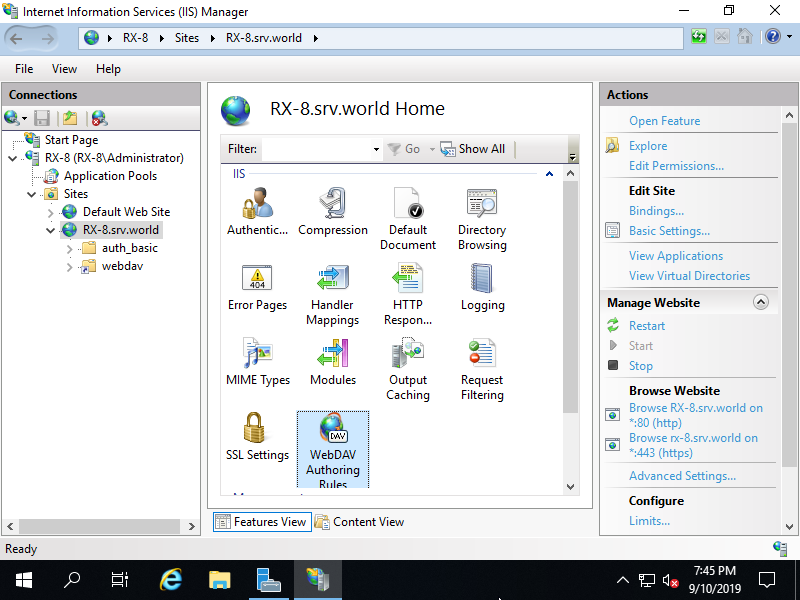
# enable WebDAV feature
PS C:\Users\Administrator> Set-WebConfigurationProperty -Filter '/system.webServer/webdav/authoring' -Location "RX-7.srv.world" -Name enabled -Value True
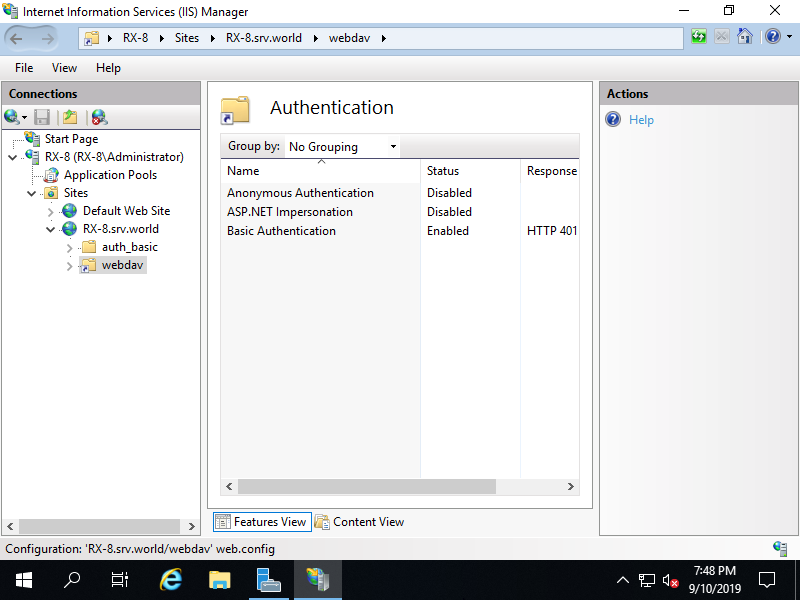
# disable anonymous authentication on [webdav] folder
PS C:\Users\Administrator> Set-WebConfigurationProperty -Filter '/system.webServer/security/authentication/anonymousAuthentication' -Location "RX-7.srv.world/webdav" -Name enabled -Value False
# enable basic authentication on [webdav] folder
PS C:\Users\Administrator> Set-WebConfigurationProperty -Filter '/system.webServer/security/authentication/basicAuthentication' -Location "RX-7.srv.world/webdav" -Name enabled -Value True
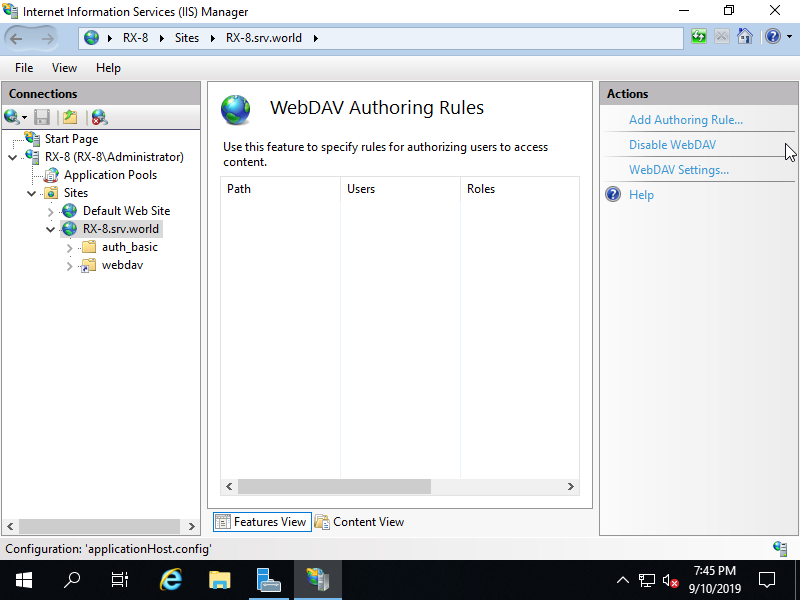
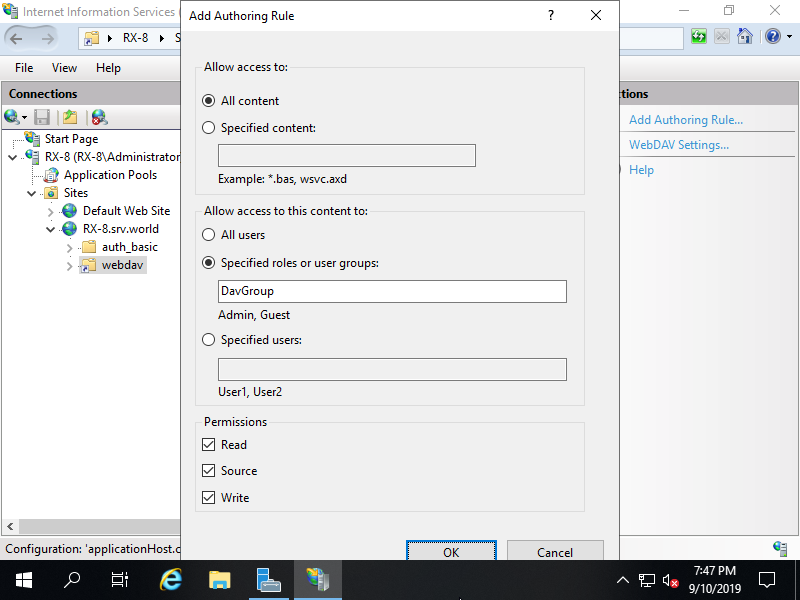
# allow Read,Write,Source persmission to [webdav] folder for [DavGroup] group
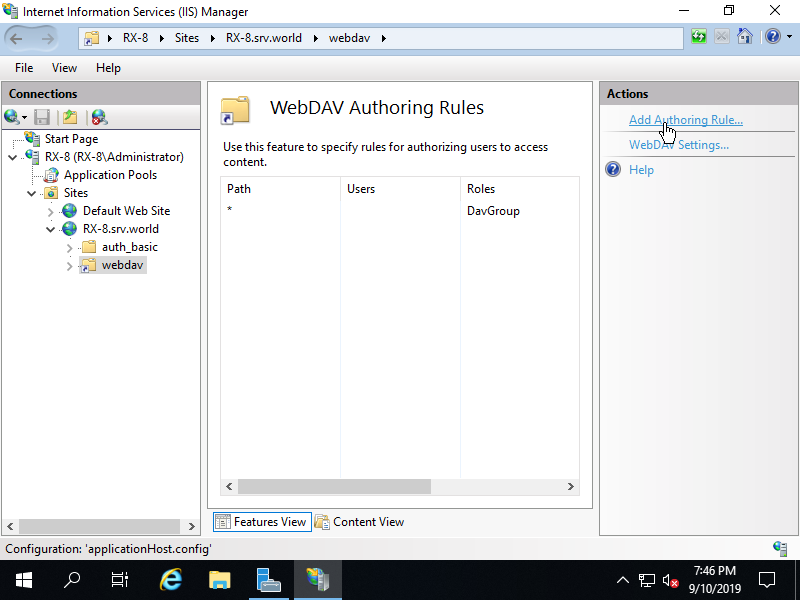
PS C:\Users\Administrator> Add-WebConfiguration -Filter "/system.webServer/webdav/authoringRules" -Location "RX-7.srv.world/webdav" -Value @{path="*";roles="DavGroup";access="Read,Write,Source"}
# allow full control NTFS permission to [webdav] folder for [DavGroup] group
PS C:\Users\Administrator> icacls "C:\inetpub\webdav" /grant "DavGroup:(OI)(CI)(F)"
processed file: C:\inetpub\webdav
Successfully processed 1 files; Failed processing 0 files
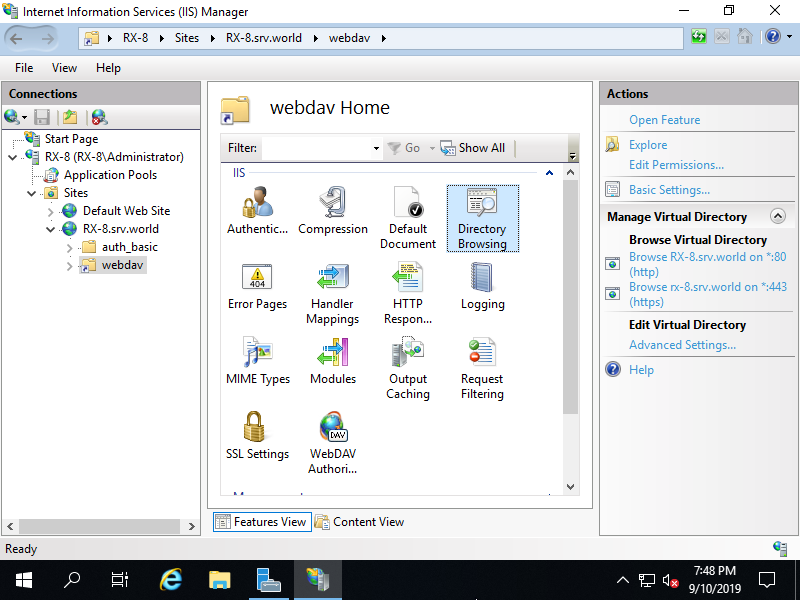
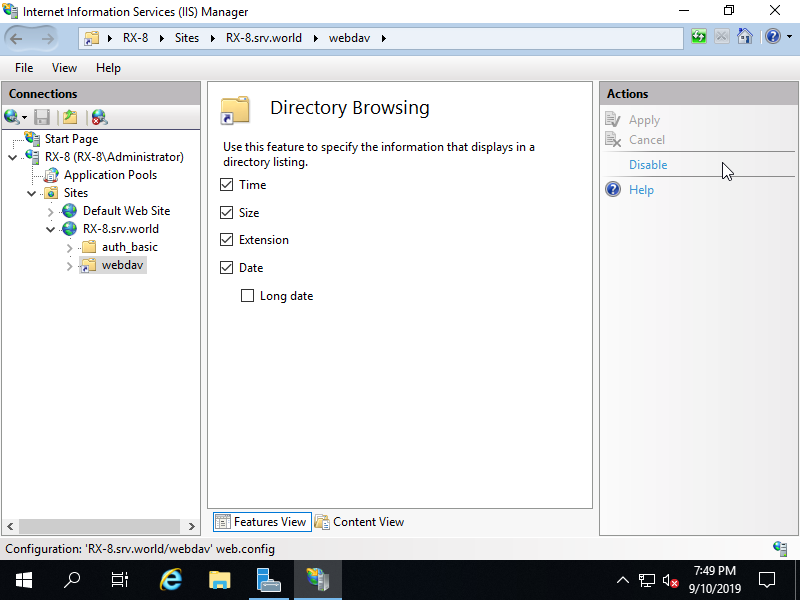
# enable [Directory Browsing] to [webdav] folder
PS C:\Users\Administrator> Set-WebConfigurationProperty -Filter '/system.webServer/directoryBrowse' -Location "RX-7.srv.world/webdav" -Name enabled -Value True
# restart target Web site
PS C:\Users\Administrator> Restart-WebItem -PSPath 'IIS:\Sites\RX-7.srv.world'
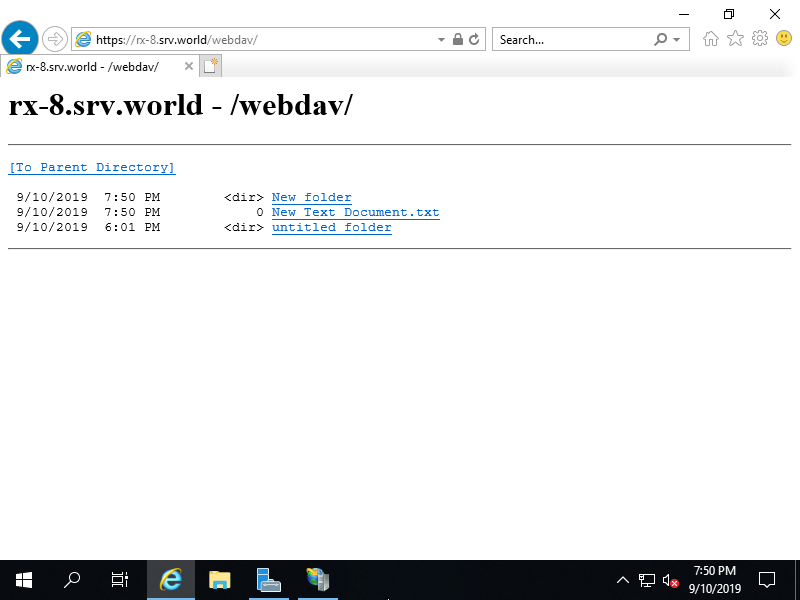
# verify accesse ⇒ [-u (username)]
PS C:\Users\Administrator> curl.exe -u Serverworld https://rx-7.srv.world/webdav/
Enter host password for user 'Serverworld': # user password
<html><head><title>rx-7.srv.world - /webdav/</title></head><body><H1>rx-7.srv.world - /webdav/</H1><hr>
<pre><A HREF="/">[To Parent Directory]</A><br><br> <br></pre><hr></body></html>