Modoboa là một nền tảng quản lý và lưu trữ mail server mã nguồn mở dành cho Linux. Modoboa được viết bằng Python sử dụng Postfix và Dovecot để gửi và nhận email.
Modoboa sử dụng máy chủ Nginx và MySQL / PostgreSQL. Nó cho phép bạn tạo hộp thư không giới hạn và miền thư không giới hạn. Nó có thể được tích hợp với Let’s Encrypt để mã hóa SSL. Quản trị Modoboa bằng giao diện web, dễ dàng tạo user và quản lý email.
1. Yêu cầu hệ thống:
- Máy chủ chạy Debian 10.
- Tên miền (domain) được trỏ bằng IP máy chủ.
- Lưu lý: Trước khi quyết định làm mail server bạn check trước IP có bị blacklist không.
- Hướng dẫn kiểm tra IP có sạch không tại đây
2. Trước khi bắt đầu cài đặt:
Bạn cập nhật hệ thống lên phiên bản mới nhất và các bản vá bảo mật cho OS:
# apt-get update -y
# apt-get install git curl gnupg2 wget -y
# hostnamectl set-hostname modoboa.example.com
3. Cài đặt Modoboa:
Tải Version của Modoboa
# git clone https://github.com/modoboa/modoboa-installer
# cd modoboa-installer
# ./run.py --stop-after-configfile-check example.com
Lệnh này tạo ra file installer.cfg. Bây giờ bạn chỉnh sửa file này:
# nano installer.cfg
Tiếp theo thay đổi các dòng sau:
[certificate]
generate = true
type = letsencrypt

[letsencrypt]
email = hitjethva@gmail.com

[database]
engine = postgres
host = 127.0.0.1
install = true
Lưu lại thông tin và thực hiện chạy lệnh cài đặt:
# ./run.py --interactive example.com
Kết quả sẽ được cho ra:
Welcome to Modoboa installer!

Warning:
Before you start the installation, please make sure the following DNS records exist for domain 'modoboa.example.com':
  mail IN A
       IN MX  modoboa.example.com.

Your mail server will be installed with the following components:
modoboa automx amavis clamav dovecot nginx razor postfix postwhite spamassassin uwsgi radicale opendkim
Do you confirm? (Y/n) Y
The process can be long, feel free to take a coffee and come back later ;)
Starting...
Generating new certificate using letsencrypt
Installing amavis
Installing spamassassin
Installing razor
Installing clamav
Installing modoboa
Installing automx
Installing radicale
Installing uwsgi
Installing nginx
Installing opendkim
Installing postfix
Installing postwhite
Installing dovecot
Congratulations! You can enjoy Modoboa at https://modoboa.example.com (admin:password)
4. Đăng nhập hệ thống Modoboa:
Để mail server sử dụng qua giao diện web, bạn trỏ domain đến IP với subdomain: https://modoboa.example.com.
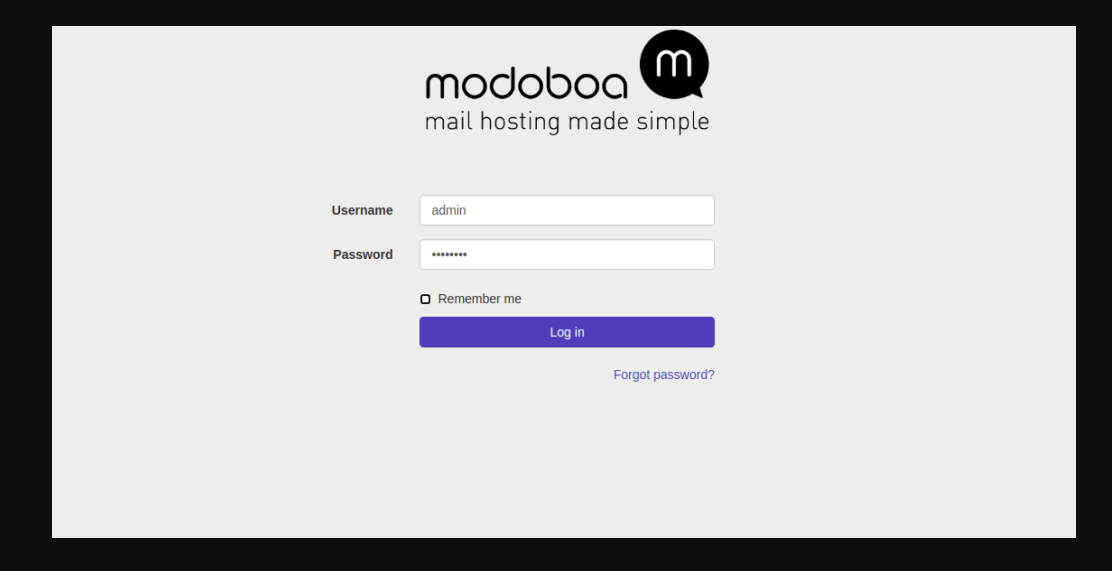
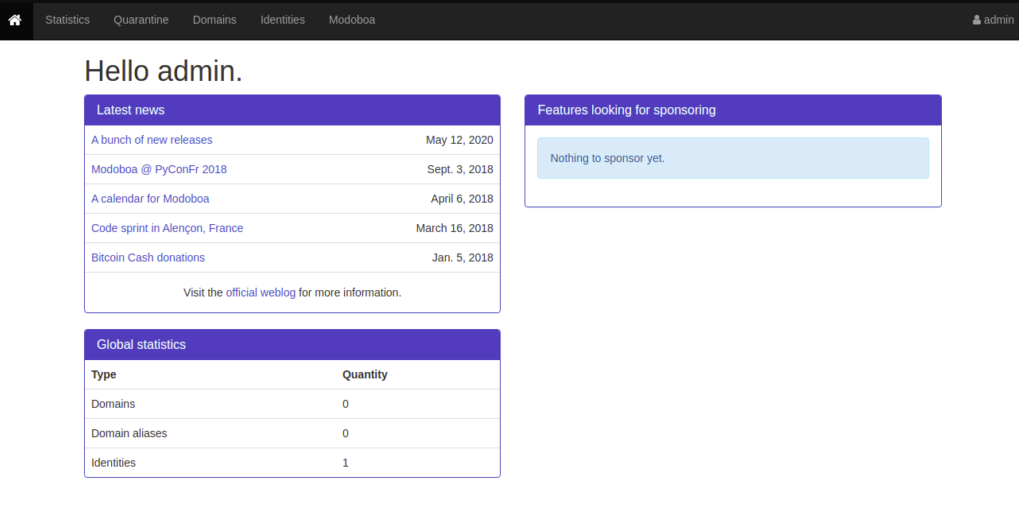
Sau khi đăng nhập user và password:
5. Cuối cùng:
Chúc mừng bạn đã cài đặt thành công hệ thống mail server. Trong bài đăng trên, bạn đã học cách cài đặt Modoboa trên máy chủ Debian 10. Bây giờ bạn có thể thêm tên miền đầu tiên của mình và bắt đầu gửi thư đến các địa chỉ email khác.
How to Set Up a Mail Server with Modoboa on Debian 10
Modoboa is an open-source mail server hosting and management platform for Linux. It is written in Python uses Postfix, and Dovecot to send and receive email. It uses an Nginx webserver and MySQL/PostgreSQL database. It allows you to create unlimited mailboxes and unlimited mail domains. It can be integrated with Let’s Encrypt to encrypt all communications between your email server and the outside network. It comes with a web-based admin panel to manage domains, mailboxes, aliases, and more.
In this tutorial, I will show you how to install Modoboa on Debian 10 server.
Prerequisites
- A server running Debian 10.
- A valid domain name pointed with your server IP.
- A root password is configured on the server.
Getting Started
Before starting, update your system packages to the latest version with the following command:
apt-get update -y
Next, install other required dependencies with the following command:
apt-get install git curl gnupg2 wget -y
Next, set your system hostname with the following command:
hostnamectl set-hostname modoboa.example.com
Install Modoboa
Next, download the latest version of Modoboa with the following command:
git clone https://github.com/modoboa/modoboa-installer
Once the download is completed, change the directory to the Modoboa and check the confoguration with the following command:
cd modoboa-installer
./run.py --stop-after-configfile-check example.com
This will create a new configuration file installer.cfg in your current working directory.
Next, edit the configuration file with the following command:
nano installer.cfg
Change the following lines:
[certificate]
generate = true
type = letsencrypt

[letsencrypt]
email = hitjethva@gmail.com

[database]
engine = postgres
host = 127.0.0.1
install = true
Save and close the file then start the installation with the following command:
./run.py --interactive example.com
Once the installation has been completed, you should get the following output:
Welcome to Modoboa installer!

Warning:
Before you start the installation, please make sure the following DNS records exist for domain 'modoboa.example.com':
  mail IN A
       IN MX  modoboa.example.com.

Your mail server will be installed with the following components:
modoboa automx amavis clamav dovecot nginx razor postfix postwhite spamassassin uwsgi radicale opendkim
Do you confirm? (Y/n) Y
The process can be long, feel free to take a coffee and come back later ;)
Starting...
Generating new certificate using letsencrypt
Installing amavis
Installing spamassassin
Installing razor
Installing clamav
Installing modoboa
Installing automx
Installing radicale
Installing uwsgi
Installing nginx
Installing opendkim
Installing postfix
Installing postwhite
Installing dovecot
Congratulations! You can enjoy Modoboa at https://modoboa.example.com (admin:password)
Access the Modoboa Web Interface
Now, open your web browser and type the URL https://modoboa.example.com. You should see the Modoboa login page:
Provide default username: admin, password: password then click on the Log in button. You will be redirected to the Modoboa dashboard on the following page:
Conclusion
In the above post, you learned how to install Modoboa on Debian 10 server. You can now add your first domain and start sending mail to other email addresses.
Nguồn: howtoforge.com
