Hướng dẫn tạo chữ ký có logo công ty cho webmail
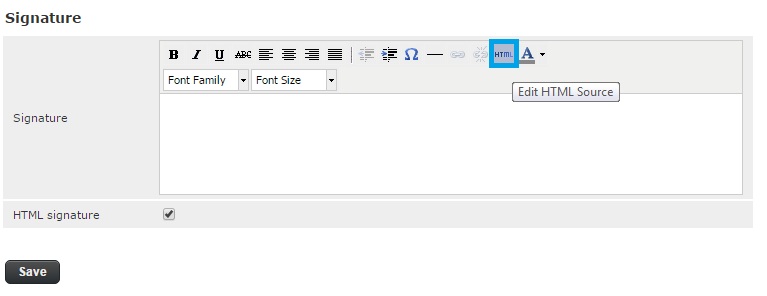
Bước 1: Click vào ô Edit HTML Source Bước 2: Chèn đoạn code theo mẫu tham khảo như bên dưới: Lưu ý dòng màu đó là đường dẫn hình ảnh logo của quý khách đã được upload lên internet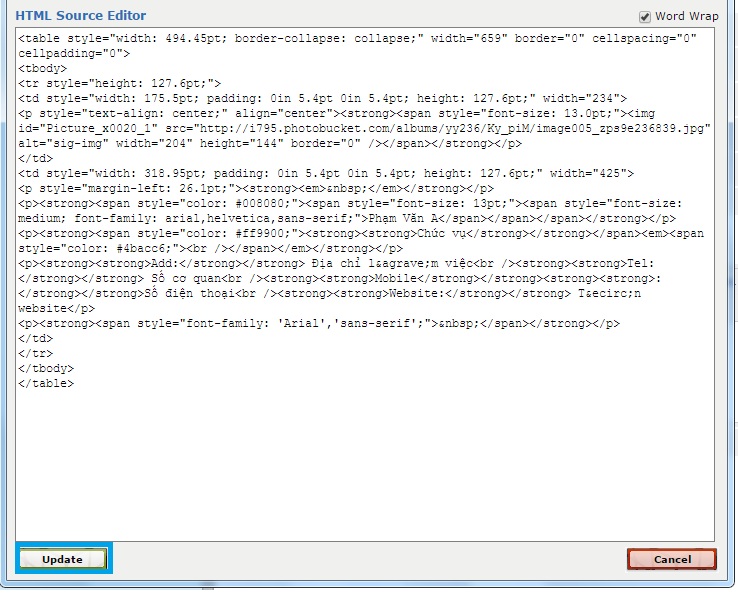 ” <table style=”width: 494.45pt; border-collapse: collapse;” width=”659″ border=”0″ cellspacing=”0″ cellpadding=”0″>
<tbody>
<tr style=”height: 127.6pt;”>
<td style=”width: 175.5pt; padding: 0in 5.4pt 0in 5.4pt; height: 127.6pt;” width=”234″>
<p style=”text-align: center;” align=”center”><strong><span style=”font-size: 13.0pt;”><img id=”Picture_x0020_1″ src=”http://i795.photobucket.com/albums/yy236/Ky_piM/image005_zps9e236839.jpg” alt=”sig-img” width=”204″ height=”144″ border=”0″ /></span></strong></p>
</td>
<td style=”width: 318.95pt; padding: 0in 5.4pt 0in 5.4pt; height: 127.6pt;” width=”425″>
<p style=”margin-left: 26.1pt;”><strong><em> </em></strong></p>
<p><strong><span style=”color: #008080;”><span style=”font-size: 13pt;”><span style=”font-size: medium; font-family: arial,helvetica,sans-serif;”>Phạm Văn A</span></span></span></strong></p>
<p><strong><span style=”color: #ff9900;”><strong><strong>Chức vụ</strong></strong></span><em><span style=”color: #4bacc6;”><br /></span></em></strong></p>
<p><strong><strong>Add:</strong></strong> Địa chỉ làm việc<br /><strong><strong>Tel:</strong></strong> Số cơ quan<br /><strong><strong>Mobile</strong></strong><strong><strong>:</strong></strong>Số điện thoại<br /><strong><strong>Website:</strong></strong> Tên website</p>
<p><strong><span style=”font-family: ‘Arial’,’sans-serif’;”> </span></strong></p>
</td>
</tr>
</tbody>
</table>
”
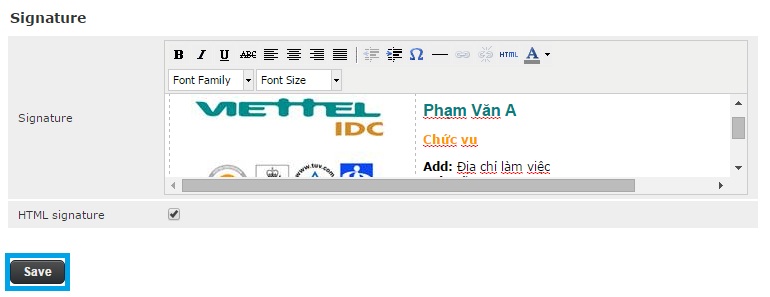
Sau khi chèn, nhấn nút Update
Bước 3: Nhấn nút Save
Hướng dẫn tạo chữ ký trên Webmail
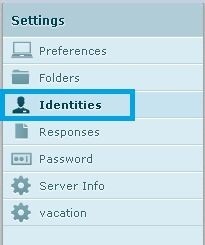
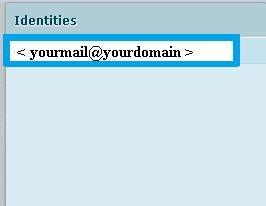
Bước 1: Click Settings Bước 2: Click IdentitiesBước 3: Click yourmail@yourdomain
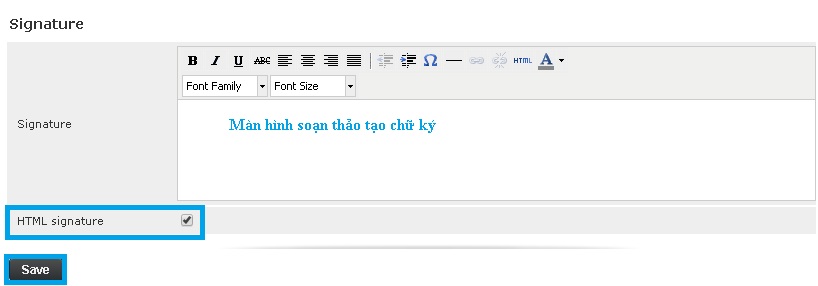
 Bước 4: Nhập thông tin trong mục Settings –> Edit Item
 Bước 4: Nhập thông tin trong mục Settings –> Edit Item
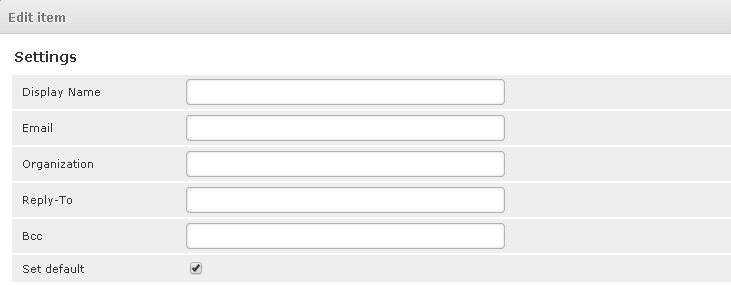
| Display name | Nhập tên người dùng mail |
| Mặc định đã có sẵn tên hòm mail | |
| Organization | Nhập tên công ty or cá nhân |
| Reply – To | Bỏ qua |
| BCC | Bỏ qua |

