Bài viết này chúng tôi sẽ hướng dẫn bạn cách cài đặt PHP 8 trên Ubuntu 20.04 và tích hợp nó với Nginx và Apache.
Tại thời điểm viết bài, kho lưu trữ Ubuntu 20.04 mặc định bao gồm phiên bản PHP 7.4. Chúng tôi sẽ cài đặt PHP từ kho lưu trữ PPA ondrej / php .
Trước khi nâng cấp lên hoặc cài đặt PHP 8, hãy đảm bảo rằng các ứng dụng của bạn hỗ trợ nó.
Bật kho lưu trữ PHP
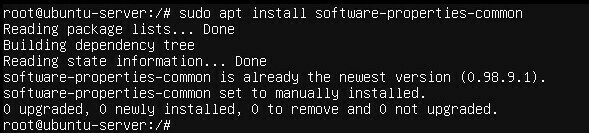
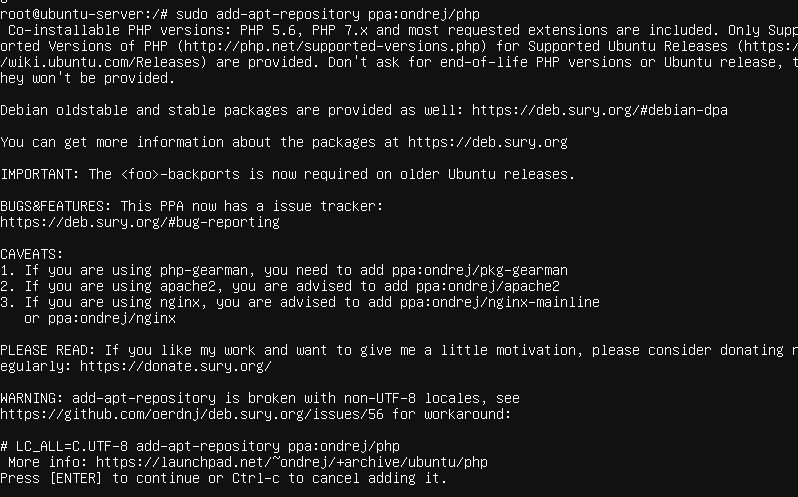
Để kích hoạt kho lưu trữ , hãy chạy:
# sudo apt install software-properties-common
# sudo add-apt-repository ppa:ondrej/php
Sau khi PPA được kích hoạt, bạn có thể cài đặt PHP 8.
Cài đặt PHP 8.0 với Apache
Nếu đang sử dụng Apache làm web server, bạn có thể chạy PHP dưới dạng mô-đun Apache hoặc PHP-FPM.
Cài đặt PHP dưới dạng Mô-đun Apache
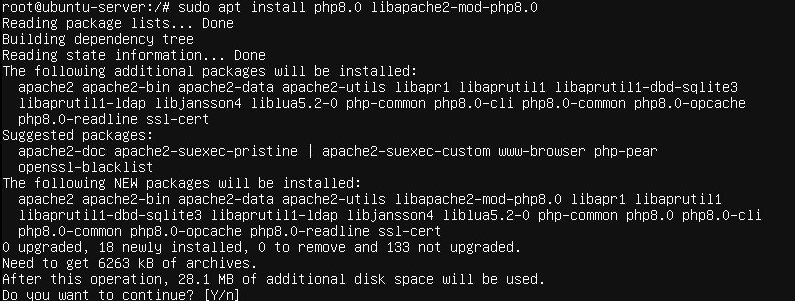
Cài đặt PHP làm mô-đun Apache là một công việc đơn giản:
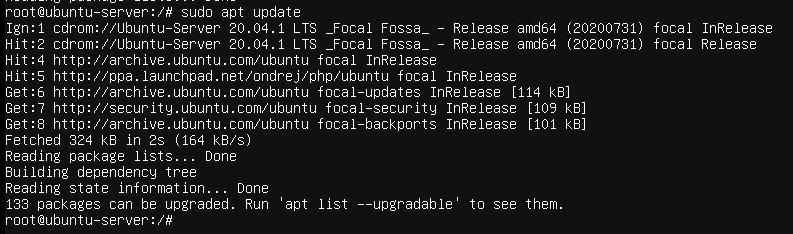
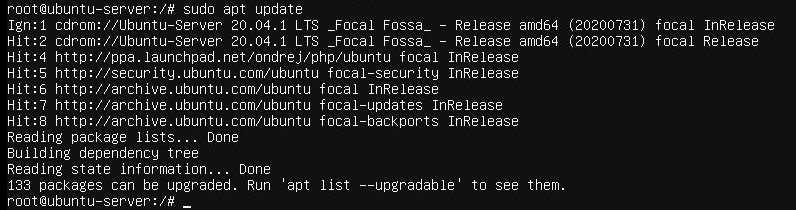
# sudo apt update
# sudo apt install php8.0 libapache2-mod-php8.0
Sau khi các gói được cài đặt, hãy khởi động lại Apache để mô-đun PHP được tải:
# sudo systemctl restart apache2
![]()
Định cấu hình Apache với PHP-FPM
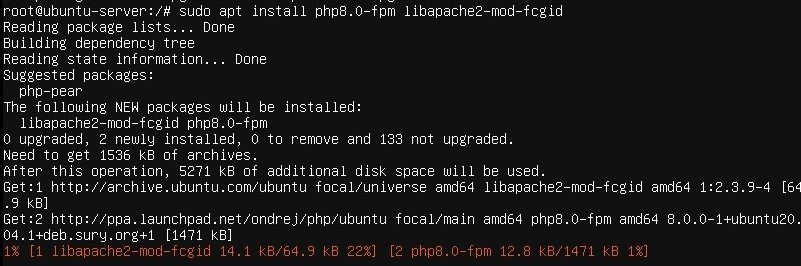
Php-FPM là một trình quản lý quy trình FastCGI cho PHP. Chạy lệnh sau để cài đặt các gói cần thiết:
# sudo apt update

# sudo apt install php8.0-fpm libapache2-mod-fcgid
Theo mặc định, PHP-FPM không được bật trong Apache. Để kích hoạt nó, hãy chạy:
#sudo a2enmod proxy_fcgi setenvif

#sudo a2enconf php8.0-fpm

Để kích hoạt các thay đổi, hãy khởi động lại Apache:
#systemctl restart apache2
![]()
Cài đặt PHP 8.0 với Nginx
Nginx không có hỗ trợ tích hợp để xử lý các tệp PHP. Chúng tôi sẽ sử dụng PHP-FPM để xử lý các tệp PHP.
Chạy các lệnh sau để cài đặt PHP và PHP FPM:
#sudo apt update
#sudo apt install php8.0-fpm

Sau khi cài đặt xong, dịch vụ FPM sẽ tự động bắt đầu. Để kiểm tra trạng thái của dịch vụ, hãy chạy:
#systemctl status php8.0-fpm
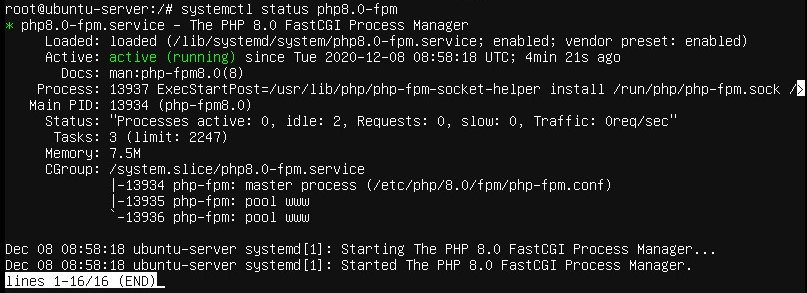
output
● php8.0-fpm.service - The PHP 8.0 FastCGI Process Manager
Loaded: loaded (/lib/systemd/system/php8.0-fpm.service; enabled; vendor preset: enabled)
Active: active (running) since Thu 2020-12-03 16:10:47 UTC; 6s ago
Bây giờ bạn có thể chỉnh sửa khối Nginx server và thêm các dòng sau để Nginx có thể xử lý các tệp PHP:
server {
# . . . other code
location ~ \.php$ {
include snippets/fastcgi-php.conf;
fastcgi_pass unix:/run/php/php8.0-fpm.sock;
}
}
Đừng quên khởi động lại dịch vụ Nginx để cấu hình mới có hiệu lực:
#sudo systemctl restart nginx

Cài đặt phần mở rộng PHP
Phần mở rộng PHP là các thư viện được biên dịch để mở rộng chức năng cốt lõi của PHP. Các tiện ích mở rộng có sẵn dưới dạng gói và có thể dễ dàng cài đặt với apt:
#sudo apt install php8.0-[extname]

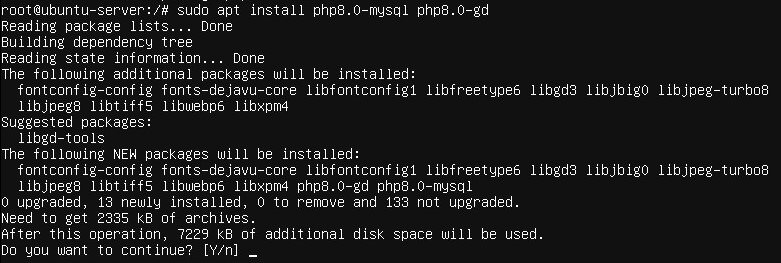
Ví dụ: để cài đặt phần mở rộng MySQL và GD, bạn sẽ chạy lệnh sau:
#sudo apt install php8.0-mysql php8.0-gd
Sau khi cài đặt tiện ích mở rộng PHP mới, đừng quên khởi động lại dịch vụ Apache hoặc PHP FPM, tùy thuộc vào thiết lập của bạn.
Thử nghiệm xử lý PHP
Để kiểm tra xem máy chủ web có được định cấu hình đúng cách để xử lý PHP hay không, hãy tạo một tệp mới có tên info.php bên trong thư mục /var/www/html với mã sau:
<?php phpinfo();
Lưu tập tin, mở trình duyệt và truy cập: http://your_server_ip/info.php
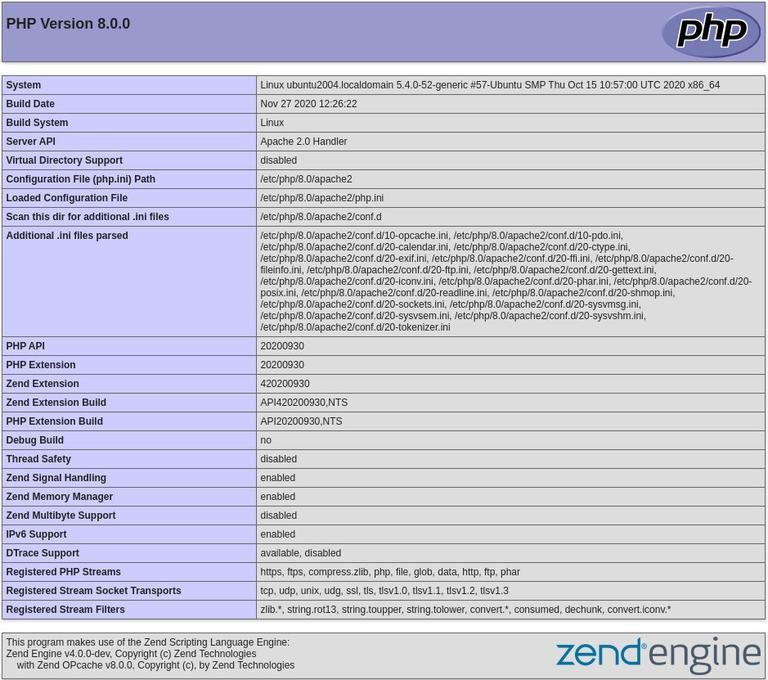
Bạn sẽ thấy thông tin về cấu hình PHP của mình tương tự như sau:
Dẫn nguồn: linuxize.com
English: How to Install PHP 8 on Ubuntu 20.04
PHP is one of the most widely used server-side programming languages. Many popular CMS and frameworks such as WordPress, Magento, and Laravel are written in PHP.
PHP 8.0 is the latest major release of the PHP language. It introduces several breaking changes, performance improvements, and lots of new features such as named arguments, JIT compiler, union types, match expression, and more.
This article will show you how to install PHP 8 on Ubuntu 20.04 and integrate it with Nginx and Apache.
At the time of writing, the default Ubuntu 20.04 repositories include PHP 7.4 version. We’ll install PHP from the ondrej/php PPA repository.
Before upgrading to or installing PHP 8, make sure that your applications support it.
The same steps apply for Ubuntu 18.04 and all Ubuntu-based distribution, including Kubuntu, Linux Mint, and Elementary OS.
Enabling PHP Repository
a Debian developer, maintains a repository that includes multiple PHP versions. To enable the repository , run:
# sudo apt install software-properties-common sudo add-apt-repository ppa:ondrej/php
Once the PPA is enabled, you can install PHP 8.
Installing PHP 8.0 with Apache
If you’re using Apache as a web server, you can run PHP as an Apache module or PHP-FPM.
Install PHP as Apache Module
Installing PHP as an Apache module is a straightforward task:
# sudo apt updatesudo apt install php8.0 libapache2-mod-php8.0
Once the packages are installed, restart Apache for the PHP module to get loaded:
# sudo systemctl restart apache2
Configure Apache with PHP-FPM
Php-FPM is a FastCGI process manager for PHP. Run the following command to install the necessary packages:
# sudo apt update sudo apt install php8.0-fpm libapache2-mod-fcgid
By default PHP-FPM is not enabled in Apache. To enable it, run:
# sudo a2enmod proxy_fcgi setenvifsudo a2enconf php8.0-fpm
To activate the changes, restart Apache:
# systemctl restart apache2
Installing PHP 8.0 with Nginx
Nginx doesn’t have built-in support for processing PHP files. We’ll use PHP-FPM (“fastCGI process manager”) to handle the PHP files.
Run the following commands to install PHP and PHP FPM packages:
# sudo apt update sudo apt install php8.0-fpm
Once the installation is completed, the FPM service will start automatically. To check the status of the service, run
# systemctl status php8.0-fpm
● php8.0-fpm.service - The PHP 8.0 FastCGI Process Manager
     Loaded: loaded (/lib/systemd/system/php8.0-fpm.service; enabled; vendor preset: enabled)
     Active: active (running) since Thu 2020-12-03 16:10:47 UTC; 6s ago
You can now edit the Nginx server block and add the following lines so that Nginx can process PHP files:
server {

    # . . . other code

   location ~ \.php$ {
        include snippets/fastcgi-php.conf;
        fastcgi_pass unix:/run/php/php8.0-fpm.sock;
    }
}
Do not forget to restart the Nginx service so that the new configuration takes effect:
# sudo systemctl restart nginx
Installing PHP extensions
PHP extensions are compiled libraries that extend the core functionality of PHP. Extensions are available as packages and can be easily installed with apt :
# sudo apt install php8.0-[extname]
For example, to install MySQL and GD extensions, you would run the following command:
#sudo apt install php8.0-mysql php8.0-gd
After installing a new PHP extension, do not forget to restart Apache or PHP FPM service, depending on your setup.
Testing PHP Processing
To test whether the web server is configured properly for PHP processing, create a new file named info.php inside the /var/www/html directory with the following code:
/var/www/html/info.php
<?php
phpinfo();
Save the file, open your browser, and visit: http://your_server_ip/info.php.
You’ll see information about your PHP configuration similar to the following:
Conclusion
Installing PHP 8 on Ubuntu 20.04 server is a simple task. All you need to do is to enable the “ondrej/php” repository and install PHP 8 with apt.
If you have any questions or feedback, do not hesitate to leave a comment.
